Why Setting Up Props Before the Pose Changes What They Do
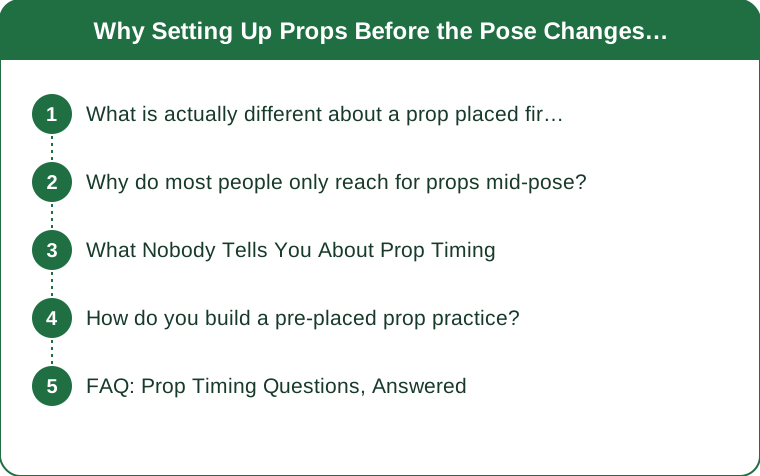
Quick Answer: A prop placed before you enter a pose changes the shape you build. A prop grabbed mid-pose only supports the shape you already made, including whatever compensations you used to get there. That is why the same block at the same height can feel transformative in one session and pointless in another — the difference is when it arrived, not where it sat.
If props have never quite clicked for you, this timing question is usually the reason.
What is actually different about a prop placed first?
It changes the movement pattern rather than propping up the result.
When you enter a pose without support, your body finds a way to get there. That way includes shortcuts — a rotated pelvis, a rounded lower back, a shoulder that hikes, weight shifted to one side. Those compensations happen in the first two seconds and they set the structure of the whole pose.
Reaching for a block once you are already down there does not undo any of them. It gives your hand somewhere to land, which relieves the strain, and it leaves the underlying shape exactly as you built it. The pose becomes more comfortable and no more correct.
A block placed before you begin works differently. It changes where your reach ends, which changes how far you have to travel, which changes whether you need the compensation at all. In a standing forward fold with a block under each hand, the floor effectively rises, and the hamstrings and lower back never enter the range where the rounding starts.
That is the whole distinction, and it is larger than it sounds. One version manages symptoms; the other prevents the cause.
There is a practical corollary that surprises people: a prop placed first often makes the pose harder, not easier. Removing the compensation means the target tissue actually has to work through the range. A supported half-forward-fold with a flat back is more demanding for the hamstrings than an unsupported deep fold with a rounded spine, even though it looks like less.
Why do most people only reach for props mid-pose?
Because of how classes are taught and how self-practice tends to run.
In a group class, the sequence moves. The instruction to grab a block usually comes after everyone is already in the shape, because that is when the instructor can see who needs it. By then the compensation is already built, and the block becomes a comfort measure.
In home practice, the pattern is worse. Props live in a corner, and getting up to fetch one interrupts flow, so people improvise from wherever they already are.
There is also a psychological layer. Reaching for a prop mid-pose feels like admitting the pose is not working, and placing one first feels like planning for it not to work. Both readings treat the prop as a concession, which is exactly the framing that keeps people from using props well.
The more useful framing is that a prop is a way of choosing which range you train. Placing blocks under your hands in a forward fold is not deciding you cannot fold — it is deciding to train the first 60 percent of the range with good structure instead of the full range with a rounded spine.
The practical fix is a two-minute habit: before practice, decide which two or three poses you will prop, and put the props in position. Not in the corner. On the mat, where the pose will happen. The friction of standing up to fetch one is what stops most people, and pre-placing removes it entirely.
What Nobody Tells You About Prop Timing
The pose you most need to prop is rarely the one that feels hardest. Difficulty and compensation are different signals. A pose that feels fine while you quietly round your lower back is a better candidate than one that burns honestly.
Props change what a pose trains, not just how it feels. A bolster under the knees in a seated forward fold shifts the stretch from the hamstrings toward the lower back and hips. That is a different pose, and choosing it deliberately is the skill.
A prop placed first can be removed later in the same hold. This is a genuinely useful technique — set up supported, find the structure, then take the prop away and see if the structure survives. Most people never try it because the prop feels like a commitment.
Height matters more than presence. A block at its lowest height in a pose that needed the tallest setting does almost nothing, and people conclude props do not help them. Set the height for where your body actually is today, which may not be where it was last week.
The second and third minute of a hold is when a prop earns its place. Early in a hold, most people can maintain position unaided. As the hold extends, the compensation creeps in. A pose you can do unpropped for 30 seconds may still be a propped pose at three minutes.
Two props are often the answer where one has failed. A block under the hand plus a blanket under the hip solves a different problem than either alone, and most people stop after trying one.
How do you build a pre-placed prop practice?
By deciding before you start, in a specific order.
Step one: pick the three poses in your usual sequence where you know your form degrades. For most people this includes some combination of a forward fold, a lunge or pigeon variation, and a seated pose. Be honest rather than aspirational.
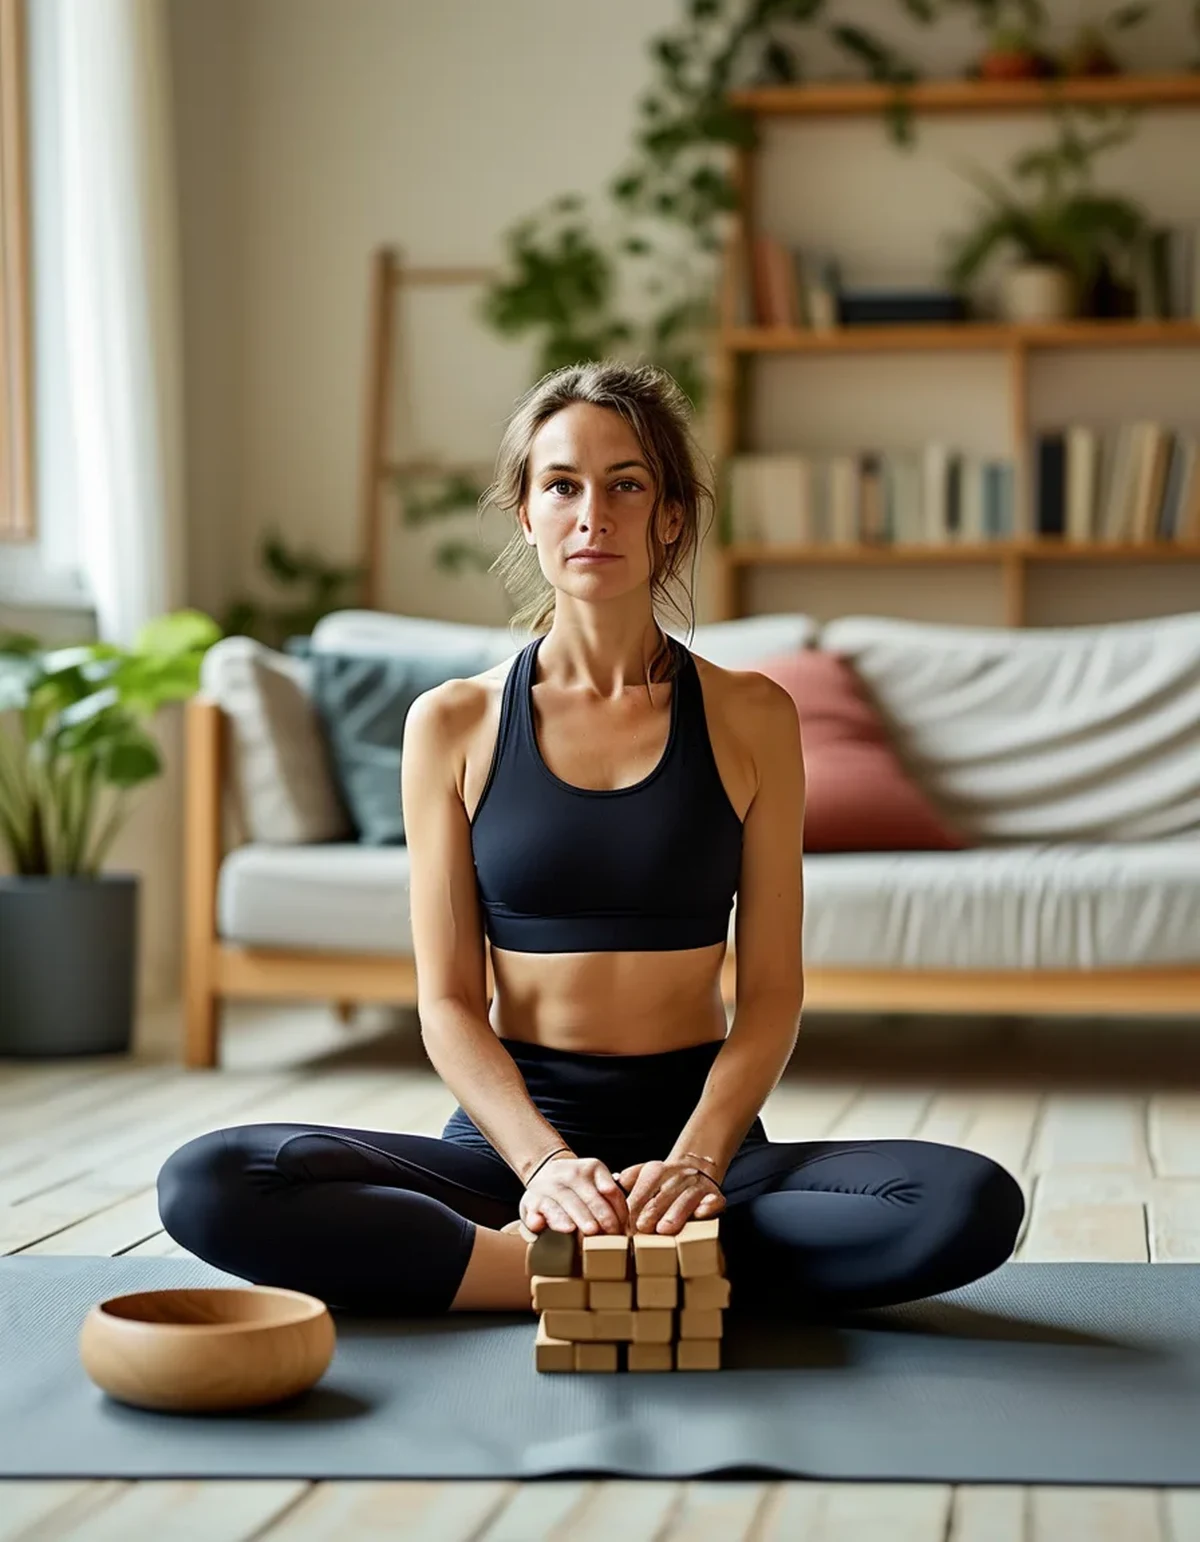
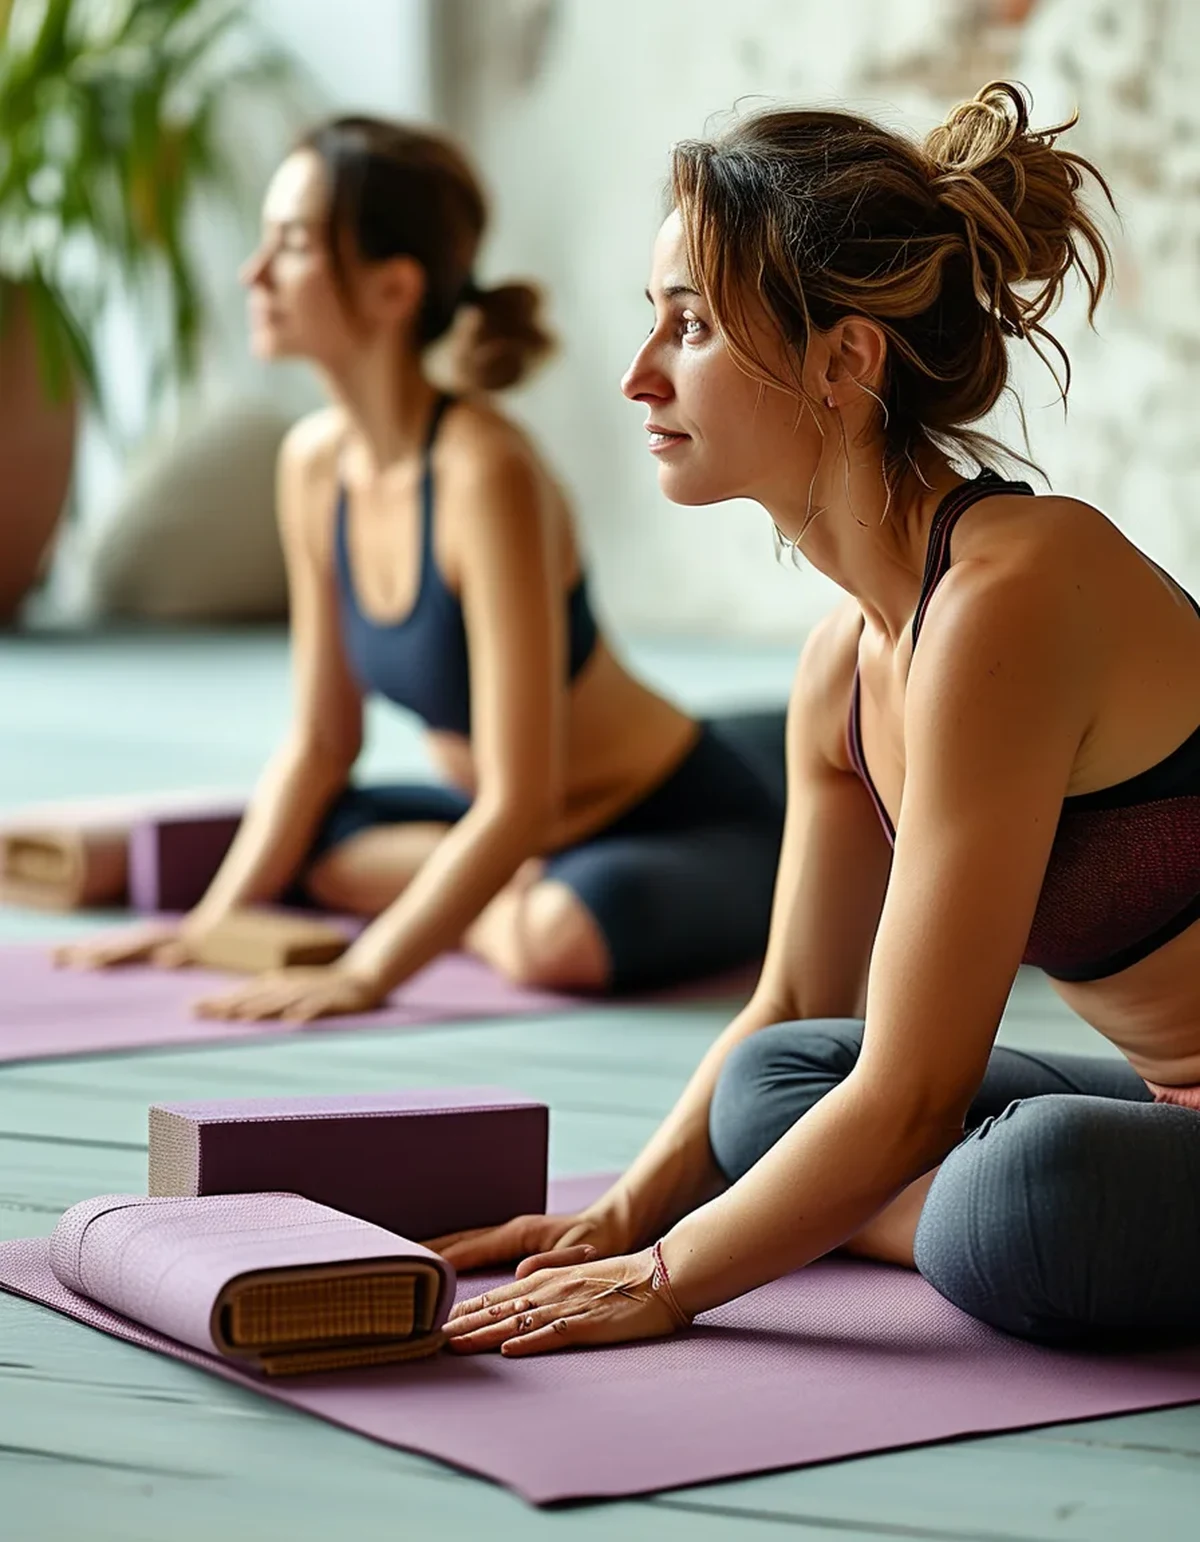
Step two: choose the prop and height for each, and place them on the mat before you begin. Two blocks at the top of the mat for the fold, a bolster to the side for the hip work, a folded blanket where you will sit.
Step three: enter each of those poses onto the prop, not down past it. This is the actual technique. You are moving into the shape until you meet the support, then stopping. Not going as far as you can and then finding the support.
Step four: hold longer than you would unpropped. Two to three minutes where you might have done 30 seconds. The whole reason to remove the compensation is to make longer holds productive, and short propped holds waste the setup.
Step five: try removing the prop in the last 20 seconds of one pose per session, and notice whether the structure holds. That is your progress marker, and it is far more informative than whether you can reach the floor.
As practice conditions shift into autumn, one more note is worth adding. Cooler rooms and cooler bodies change the range you have available at the start of a session, particularly in the first ten minutes and particularly for morning practice. A block height that was unnecessary in the warm studio of a July evening is often exactly right for an early September morning. Resetting your prop heights seasonally is a small habit that keeps the practice honest.
This is general information, not medical advice. Persistent joint pain in a pose is a reason to consult a qualified teacher or clinician rather than a reason to add a prop.
FAQ: Prop Timing Questions, Answered
Does this apply to straps too?
Yes, and arguably more. A strap picked up mid-pose lets you hold a shape you rounded into; a strap in your hands before you begin lets you keep the spine long from the start. The difference in a seated forward fold is dramatic.
How do I know if I am compensating?
Film one pose from the side, or practice near a mirror once. Most compensations are obvious on video and invisible from the inside, which is why they persist for years.
Should I use props in every practice or only when I feel tight?
Use them in the poses where your form degrades, every time, until the degradation stops. Using them only on stiff days means you are training the compensation on all the other days.
TL;DR:
- A prop placed before the pose changes the shape you build; a prop grabbed mid-pose only supports the compensations you already made.
- Pre-placed props often make a pose harder, because they remove the shortcut and put the work back on the target tissue.
- Set props on the mat before you start, enter the pose onto the prop, and hold longer than you would unpropped.
- Try removing the prop in the final seconds to test whether the structure survives.
Pick three poses and place the props before your next practice. It is a two-minute change and it alters what those poses are actually training.
See It in Motion
Seen here: High Waist Yoga Leggings with Inner Pocket — shop it on bubblelime.com
Keep Reading
This article is for general informational and styling purposes only. Fit, sizing, and product availability may vary.